

Is your listing mapped incorrectly in Matrix? Is the Google Street View showing a less than desirable view? If you answered “yes” to either of these two questions, then this tip is for you!
First Tip: Verify your map when entering your listing, not after.
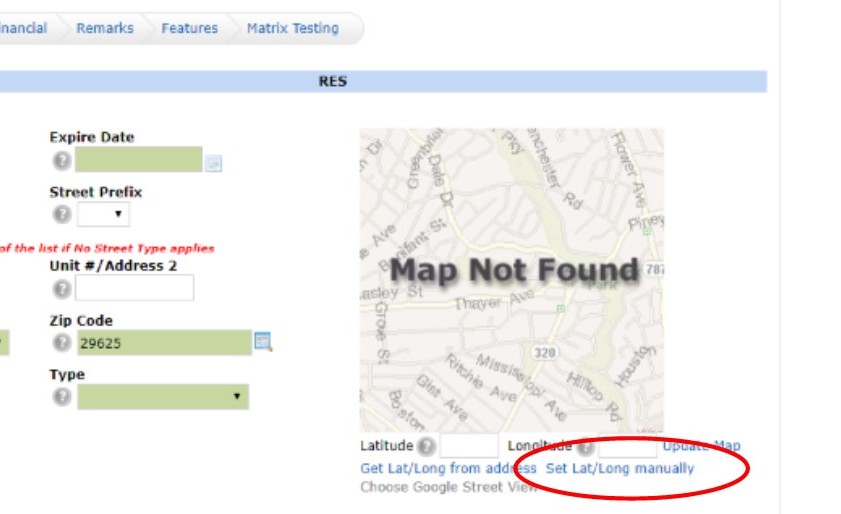
- When entering your listing, click the “Set Lat/Long manually” link below the map:
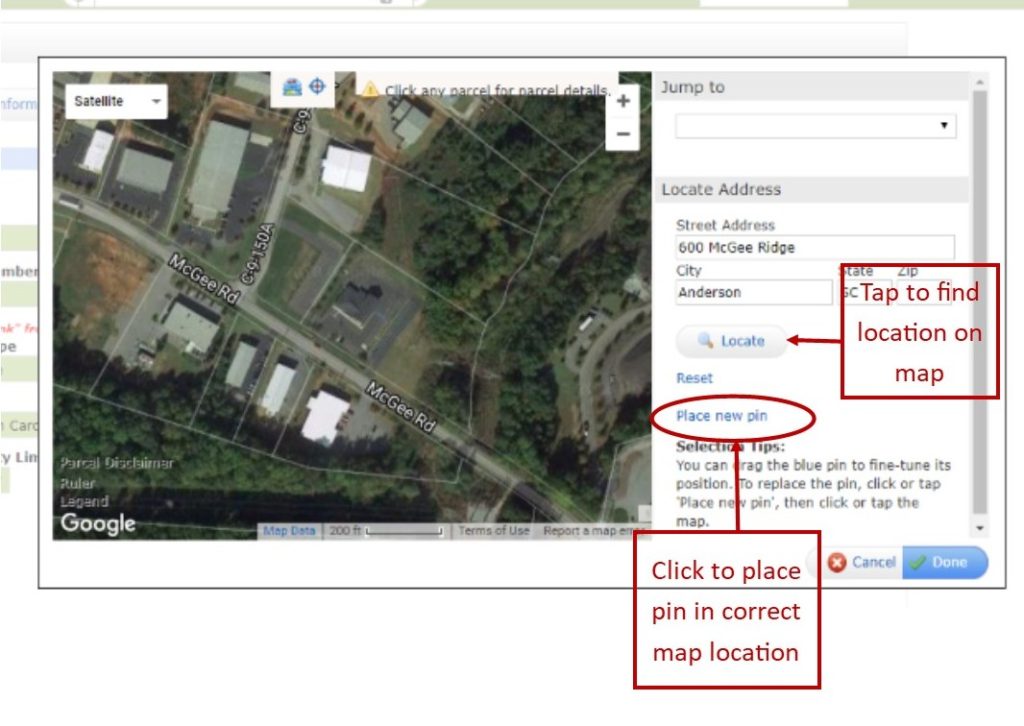
- Click the Locate button to find the address on the map.
- If there is no pin showing on the map (or if the pin is in the incorrect spot, click the “Place New Pin” link and click on the map on the correct parcel. Click Done when you have the pin placed correctly on the map.
What if you have already saved the listing and need to go back to change the map?
- From the my listings widget on the front page of Matrix, click “My Active Listings” to pull up all of the current active listings under your name.
- Click the check box next to the listing and click on “Edit” at the bottom of the screen.
- Chose the form for the class of your listing (Residential, Land, etc.)
- Follow the instructions above for setting the map location.
Second Tip: Don’t forget to set your Google Street View?
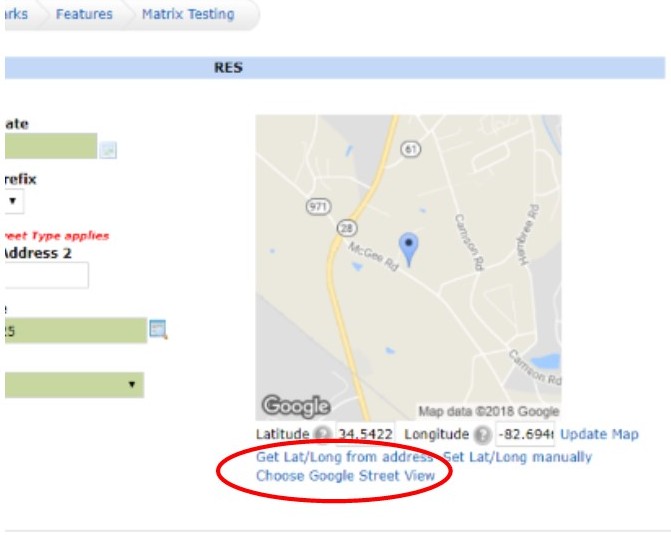
- After verifying that your listing is located in the correct location using the above steps, click the “Choose Google Street View” link under the map
- Move the Google street view map around to your preferred view of the property (zoom in, rotate camera view, etc.)
- Click OK to save the map.
You’re all set! Now if another agent pulls the listing up in Matrix, or an agent’s client pulls up the property in the client portal, your property will display according to your preference.